Monday, September 10, 2012

How To...Shred Chicken

So...this is one of the most amazing things I have ever discovered.
Do you just hate picking through your cooked chicken with forks and knives to get that perfect shredded chicken.  I know I do.  It takes FOREVER!  
Well...I am about to become your best friend forever.  You can now shred that dreaded chicken in less than a minute.  I am so not kidding.  It is so simple and will make your life just that much easier.


1: Cook your chicken, 
2:  While it is still hot, dump it into your stand mixer with the paddle attachment.
3:  Turn it on and let it beat for about 30 seconds.


PERFECT SHREDDED CHICKEN!!!

You are welcome! :)
Pin It!

Sunday, September 9, 2012

SALSA!

 Ahhhh...tomatoes...is there anything more rewarding after a season of weeding, watering and waiting than the first haul of ruby, sun-warmed garden tomatoes?
I contend that there is not!
 
And what, pray tell, is the grandest thing to do with tomatoes?
(other than stuffing them by the forkful into your face drenched in ranch dressing and black pepper)
SALSA!!!
My favorite season is neither summer, winter, spring or fall but SALSA SEASON!
And a lovely lady by the name of Mrs. Wages has made my salsa obsession oh-so simple.
If you can find it, grab about fifteen of these. They are a hot commodity so make fast work of it!
 
 
Following orders on the bag, blanch your 'maters on the stove and follow their hot-tubbing with an ice bath. This will make it so their skin slips off without fuss. It is a rather grotesque task or I would have captured an image of the event. Lots of oozing and warm liquid.
Mmmm...
 
 Core and roughly chop the skinned tomatoes, trying to keep as much of the goo as possible in your pot. Dump in Mrs. Wages salsa mix and follow directions.

 If you are like me, canning the result comes after the first tasting. Which might be an entire batch so repeat steps if necessary so you have something to freeze or jar, if that is what you wish.
This salsa is yummy no matter how you do it.
So do it!
Don't let your tomatoes go to waste in the windowsill! It's a sacriledge to the garden and all that hard work!

 
-A.S.
Pin It!

Sunday, August 26, 2012

Beef Enchiladas

It is not easy to make beef enchiladas. I have tried for a while now to perfect a recipe.
After my last attempt to make them and my family was very polite and said they were good, but I know they weren't. I decided to try and  figure out what makes them good.
Last night I figured it out and oh my...they were awesome!

Beef Enchiladas
1 lb hamburger
1 can diced green chiles
1/2 onion, diced
1/4 cup olives, chopped
2 cups shredded cheese
1 can green enchilada sauce
Tortillas

Preheat the oven to 350 degrees. In a pan brown the hamburger with onions and green chiles. Mix in the olives and one cup of cheese. Then mix in half the can of green enchilada sauce. Place the meat mixture into a tortilla, roll up and place in a baking dish. Repeat until all the meat mixture is gone. Cover the enchiladas with rest of the green sauce and sprinkle the remaining cheese on top. Bake for 20 minutes if you like them soft, closer to 30 minutes for crunchy. Enjoy!

Pin It!

Tuesday, August 21, 2012

Homemade Sweetened Condensed Milk

So this just amazed me! You can make your own sweetened condensed milk...in your home...and more than likely you have everything in your pantry. With the prices in the store this will definitely help with your pocketbook!

Homemade Sweetened Condensed Milk 
1 Cup Sugar
1 Cup Dry Powdered Milk
1/2 Cup Water
1 Tbsp Butter

Put sugar & powdered milk in a blender. Put water & butter in a microwaveable dish & let it come to a boil in your microwave; about 45-60 seconds. You can also use your stovetop as well. Keep an eye on it. Add water/butter mixture to mixer & blend until combined. Scrape sides if you need to & blend again.*Makes approximately 1 1/2 cups.

So super easy! Now go make some goodies with your homemade sweetened condensed milk! :)


Pin It!

Friday, July 27, 2012

P.F. Chang's Chicken Lettuce Wraps

My husband and I went out one afternoon with some friends to P.F. Chang's.  We have never been there, but we were told that the lettuce wraps were amazing.  In fact, that they have had dreams about them.  Well...I knew that they had to be good so we ordered them.  Oh.  My.  Goodness!
They were tasty...and I had dreams about them that night.  
I wanted them again and again...and again.  Yum.
Well, I knew that there had to be copycat recipe out there for them so I searched the internet and found one and tried them out on my family.  It was a hit...even with the kids.  Who knew.
I hope you enjoy these as much as we do.  I think we have a new favorite!


I wish mine looked like this...but this is what they look like in P.F. Chang's :)


First, you need to make the stir fry sauce.  
Mix Soy Sauce, Brown Sugar and Rice Vinegar together and set it aside.


This is where it is going to make the most time.  
You will need to cut up your chicken breasts into small cubed pieces.


Take olive oil and sesame oil, let it heat up and then stir fry your chicken until it is done.
Once it is done, remove from the pan and leave your oil in the pan and keep hot.


You will need to cut up your mushrooms into cubes as well.  
About the same size of your chicken pieces.


Chop up your onion, and slice water chestnuts into small cubes as well.


You might need to add some more olive oil to your pan, add garlic, onions, water chestnuts, mushrooms, chicken and the stir fry sauce all into the pan.  Cook everything until the mushrooms are tender.


I usually buy a whole head of lettuce, wash it, cut in half and place in a bowl.


Take leaf of lettuce, place as many rice noodles on there as you want (lots for me...I like the crunch)


Then spoon on your chicken mixture.
Wrap your lettuce around it and eat.  Once you start you cannot stop. :)
Keep making them and eating them until full.  
ENJOY!

P.F. Chang's Chicken Lettuce Wraps
Iceberg or Romaine Lettuce
Rice Noodles

Stir Fry Sauce:
2 Tbsp Soy Sauce
2 Tbsp Brown Sugar
1/2 tsp Rice Vinegar

Mix well and set aside.

Chicken Mixture:
2 Tbsp Olive Oil
2 Tbsp Seseme Oil
2 Chicken Breasts, cut into small pieces or cubes
1 can Water Chestnuts, drained and cut into small pieces
1/2 - 1 Cup Mushroom, cut into small pieces
1/2 Yellow Onion, chopped
3 Garlic Cloves, minced

Combine the olive oil and sesame oil in a pan or wok, heat until it shimmers.  Add the chicken and stir fry until cooked.  Remove and allow the chicken to cool.  Reserve the oil in the pan, keeping it hot.  Add more olive oil if needed.  Add your garlic, onions, water chestnuts, mushrooms, chicken and stir fry sauce back into the pan.  Cook everything until the mushrooms are tender.  Wrap the chicken mixture with rice noodles and lettuce. 
Pin It!

Wednesday, July 25, 2012

Did you say Banana Frosting?


I work in a small office so when it's someone's birthday on my team, I ask them what kind of cake they would like and then bring it in for them.  So when I asked my boss what kind of cake he would like for his birthday and he told me "Spice cake, with banana frosting!", I had to bite my tongue.  Banana frosting?  Spice Cake WITH banana frosting?  WHAT?!?!  My facial expression must've given me away though because he then explained to me that his grandma used to make it.  I just smiled and told him I would try.  Well believe it or not, it turned out AMAZING.  Seriously amazing.  This just might be my new favorite.

Spice Cake

2 1/2 cups all-purpose flour
1/4 cup cornstarch
4 tsp baking powder
1/2 tsp salt
2 tsp ground ginger
1 tsp ground cinnamon
1/2 tsp ground nutmeg
1/2 tsp ground allspice
1/2 tsp ground cloves
1 pkg white chocolate Jell-O pudding (or vanilla)
2 cups dark brown sugar
1 cup milk
3 large eggs
2 tsp vanilla extract
1 cup salted butter, softened until easily spreadable

Heat oven to 350 degrees.  Grease and flour 2 8 or 9 inch round cake pans.  Whisk dry ingredients and spices in a large bowl.  Mix milk, eggs and vanilla extract in a 2-cup measuring cup.
Beat softened butter into dry ingredients, first on low, then medium, until mixed well together.  The mixture will be very grainy, pebble like.  Add about 1/3 of the milk mixture and beat on low until smooth.  Add remaining milk mixture in two stages; beat on medium speed until batter is just smooth.  Pour batter into cake pan.
Bake about 30-40 mins, when a cake tester or toothpick inserted into the cake's center comes out clean.  Let cool for about 5-10 mins and then turn cake onto rack to cool.
Banana Frosting

1/2 cup butter, softened
1 banana, just green on the ends (as pictured above) (if you use an overripe banana, it will be too sweet)
1/2 tsp lemon juice
1/2 tsp vanilla extract
2 to 2 1/2 cups powdered sugar

Cream the butter, then add a cup of the powdered sugar in 1/2 cup increments.  Then add 1/3 of the mashed banana, mix well.  Add another 1/2 cup of sugar, the next 1/3 of banana.  Add the lemon juice and vanilla.  Add the last 1/2 cup of sugar and the last 1/3 of banana.  Mix until it's fluffy and creamy, adding sugar as you need.

Seriously.  Try it.  You just might like it!  :)
Pin It!

Monday, July 23, 2012

Box Brownie Mix: DIY

Don't you just hate it when you want to make a yummy dessert, you open your cupboard to grab that box mix of brownies...and...it is not there!  Such a bummer.
Well...thanks to Pinterest (my friend for life) I found a way for you to make your own brownie mix (click here) to store in your pantry or freezer.  I can guarantee that you have all of the ingredients in your pantry.
I love you Pinterest.  
I just made two batches of these brownies and I must say that they are super good and super easy, and cost cents on the dollar instead of the $1-2 per box you would buy them for in the store.
Your welcome!


Box Brownie Mix: DIY
1 Cup Sugar
1/2 Cup Flour
1/3 Cup Cocoa
1/4 tsp Salt
1/4 tsp Baking Powder

Mix the ingredients together, dump into a bag.  Store in a bag in your pantry for at least 6 months, to add life to it you can store it in your freezer.

To make the brownies:
Dump bag into bowl and add:
2 Eggs
1/2 Cup Oil (or melted margarine)
1 tsp Vanilla

Mix well and bake at 350 degrees for 20-25 minutes.
Yummy!
Pin It!

Sunday, July 1, 2012

Chocolate Chip & Marshmallow Ice Cream

My sweet sister told me about this recipe from Kraft Food & Family magaizine. So I decided to try it. It is so easy and so tasty!  Really simple ice cream recipe without having an ice cream machine.  You could definitely try this with any flavor pudding and different ingredients.


See this awesome ice cream tub.  I bought this a couple years ago through Amazon.com.
It isn't very big, but it is great for freezing homemade ice cream.  
It is from Zak Designs and you can buy them here.

Chocolate Chip & Marshmallow Ice Cream
2 pkgs (3.9 oz. each) Chocolate Instant Pudding 
2 cups cold Milk 
1tub (8 oz.) Whipped Topping, thawed 
1cup Miniature Marshmallows 
1/2 cup Semi-Sweet Mini Chocolate Chips

Beat pudding mixes and milk in large bowl. 
Stir in whipped topping, marshmallows and chocolate chips. 
Spoon into 2-qt. freezer-safe container; cover. 
Freeze for 4 hours or until firm.


-Kelli
Pin It!

Wednesday, June 20, 2012

Taco Seasoning

I was happily making tacos for my family.  I had just browned my hamburger, opened up the pantry to grab the trusty packet of taco seasoning...and...I didn't have one.
Ugh!
I had just gotten home from work and really didn't feel like getting back into the car and driving down the street to the store just for a taco packet.  So I made my own, I had found this while browsing the internet.  
It makes about the equivalent of two packets.  It is quite spicy but I like it.
So for all of you who run out of seasoning packets this is for you! 
Enjoy!


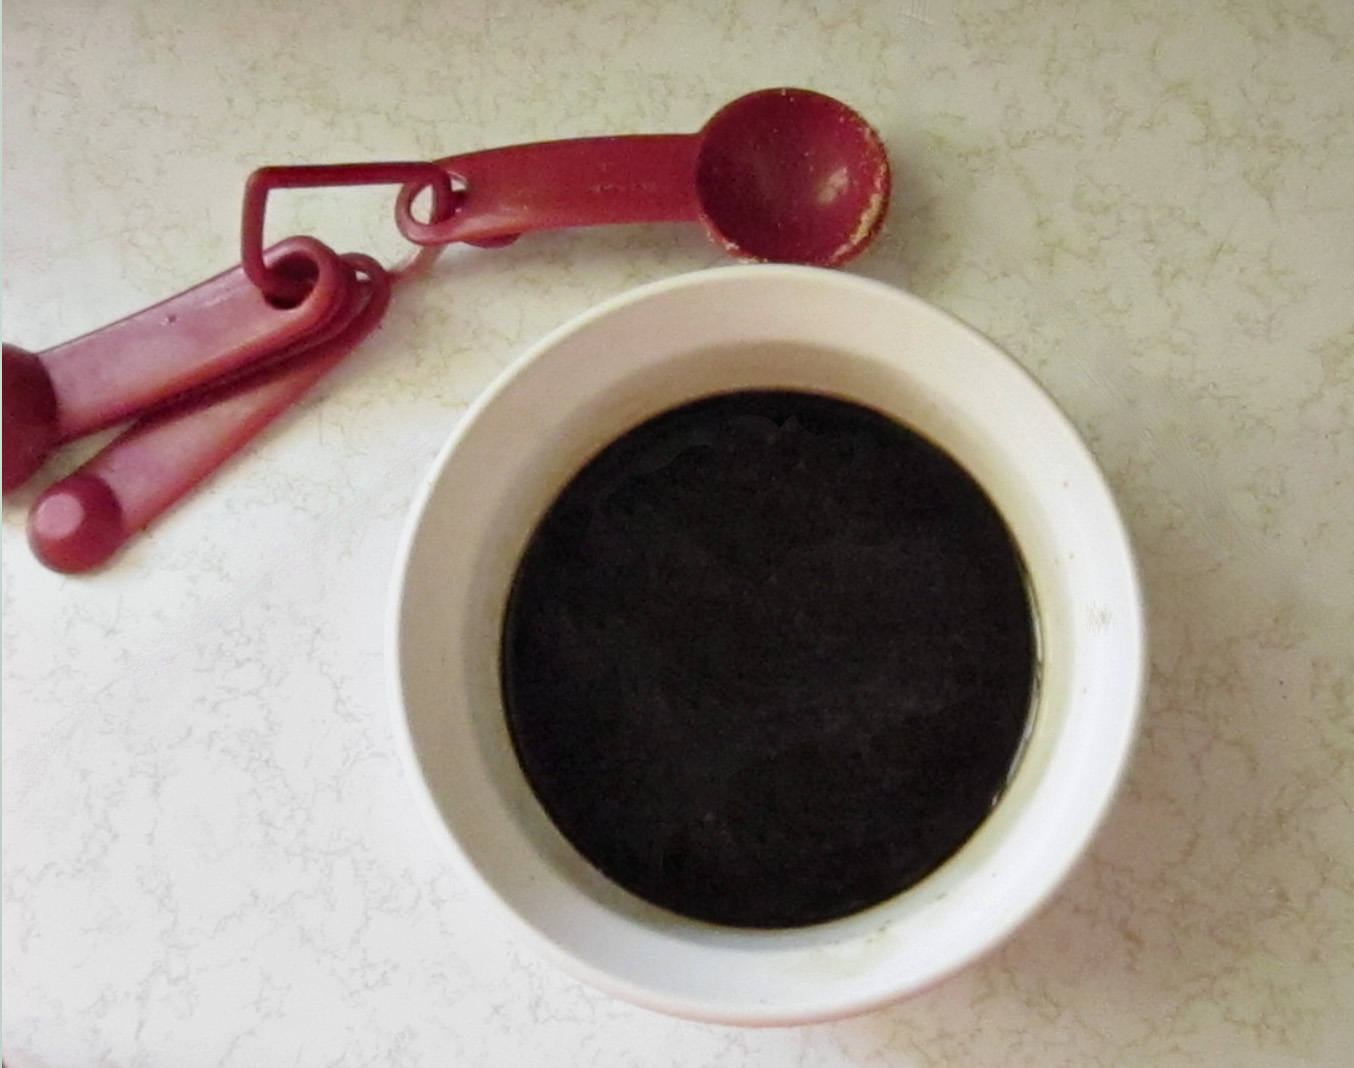
Taco Seasoning

1 Tbsp Chili Powder
2 Tbsp Cornstarch
1/2 tsp Salt
1/2 tsp Pepper
1/4 tsp Garlic Powder
1/4 tsp Oregeno
1/4 tsp Onion Powder
1/2 tsp Paprika
1 1/2 tsp Cumin
1/4 tsp Cayenne Pepper


Pin It!

Friday, June 15, 2012

Made By Me: DIY Cleaning

Are you excited?
I know I am.
So you know how you can make your own laundry soap here.
My next thought was - what do I do about those annoying dryer sheets and fabric softener.
Well...I found it and I am going to share.  YAY!!!


Here is what you do.  Buy some Fabric Softener (your choice of brand and scent) 
and you need a hand towel.  SOAK the hand towel in the fabric softener and then SQUEEZE out all remaining drops.  Hang it over a chair or on a clothesline until COMPLETELY dry.  It takes about three days (yes...three days!)  Once you know it is completely dry, you will then be able to throw it in the dryer and use it just like a dryer sheet.  Use it for about 40-50 loads or a month.  
Then soak it again and do it over again.  And the best thing is that it works!!!


I have another one for you today too!  Make your own bathroom cleaner.  
This was amazing!  I just used it in my bathtub and it works!


What you need: White Distilled Vinegar and blue Dawn (it has to be the blue kind and I used Great Value) and a spray bottle.  You use equal amounts of vinegar and soap.  For my bathtub I used half a cup of each.  You heat up the vinegar in the microwave for about two minutes, place it and the soap in the spray bottle and mix gently.  You then spray the mixture all over, let it sit for a half hour or an hour and then wipe down.  AMAZING!  My faucets haven't shined like this for a very long time.  
I really do love do it yourself projects...and I hope you do too!
Pin It!